How to Resize an Image to 20KB on Android
Learn how to resize and compress photos down to 20KB directly on Android using gallery tools and privacy-friendly compressor apps.
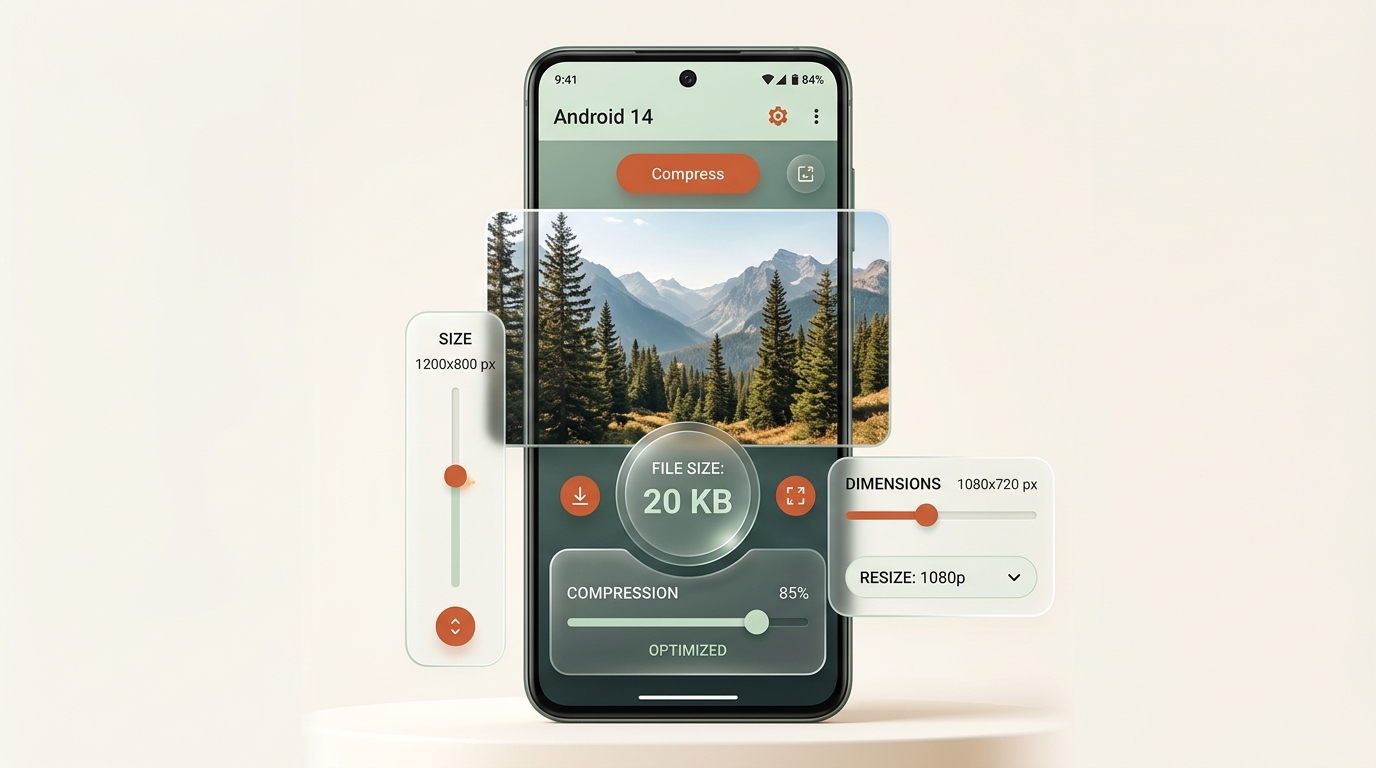
Resizing a photo directly on your phone skips the extra step of transferring files to a computer first, which matters when you need a 20KB photo on Android ready in minutes. This guide walks through the full process, from checking your starting file size to confirming the final result, entirely within your Android device.
Mobile Image Compression: How Android Resizing Compares to Desktop
Mobile Touch Controls and Sliders vs. Precision Desktop Numeric Fields
Mobile screens and touch interfaces change how resizing tools present their controls, typically simplifying quality and dimensions into a single slider or preset options rather than desktop-style precise numeric fields. This makes the process faster but occasionally less precise than a full desktop photo editor.
On-Device Local Processing vs. Cloud-Based Mobile Resizers
Storage and processing power also differ, meaning some mobile image resizing apps run compression locally on the device, while others upload the photo to a remote server. Choosing local on-device processing ensures your private identity documents and photos remain secure.
How to Check Photo File Size and Dimensions on Android
Viewing Image Details in Google Photos and Native Gallery Apps
Before resizing anything, open your device’s file manager or gallery app and check the photo’s properties:
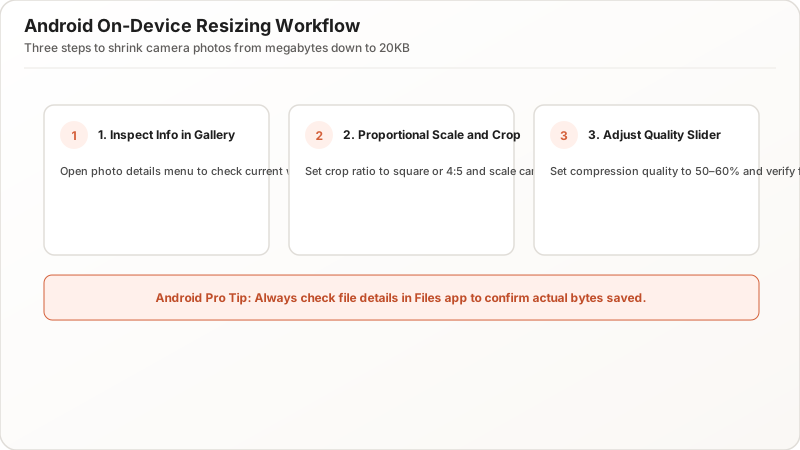
- Open the photo in Google Photos or your native Gallery app.
- Tap the three-dot menu (⋮) or swipe up on the screen.
- Check the file size in MB/KB and pixel dimensions (e.g., 3024 × 4032 px).
Calculating the Compression Needed from Multi-Megabyte Camera Shots
Most phone camera photos start between 2MB and 8MB (2,000KB to 8,000KB), so reducing them to 20KB requires downscaling dimensions alongside quality compression.
Step-by-Step Methods: How to Compress and Resize Images to 20KB on Android
Method 1: Adjusting Pixel Dimensions Using Native Gallery & Google Photos
Google Photos, along with most third-party Android image editor apps, includes a basic crop and resize tool:
- Open the photo and tap Edit > Crop.
- Select the required aspect ratio (e.g., 1:1 square or 3:4 portrait).
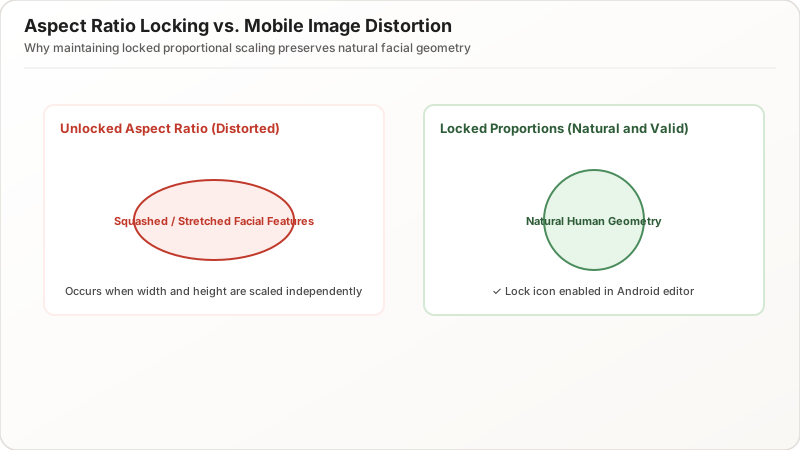
- Lock the aspect ratio to prevent facial distortion.
- Export or save a copy at a reduced dimension (e.g., 600×600 px).
Method 2: Calibrating Compression Quality to Hit the 20KB Limit
Dedicated Android photo compressor apps typically offer either a direct target size input field or a quality percentage slider:
- If your app supports direct KB targeting, simply enter “19 KB” (giving a safe 1KB buffer under 20KB).
- Without direct targeting, set quality around 50% to 60% and test the saved file size.
Method 3: Selecting the Best Output Format on Android (JPG vs. WebP)
- JPG / JPEG: Universal choice for passport, visa, and exam portal uploads.
- WebP: Delivers roughly 25–35% smaller file sizes at identical visual quality, ideal if the upload portal supports it.
- Avoid PNG: Uncompressed PNGs rarely reach 20KB for camera photos.
How to Lock Aspect Ratio and Prevent Image Distortion on Mobile
Enabling the Proportional Ratio Lock Before Resizing
Locking the aspect ratio prevents stretching or squashing facial features in official application headshots. Most Android editing apps display a small lock icon near dimension settings—always ensure it is locked.
Cropping to Passport and Form Standards (1:1, 3:4) Before Compression
If an official form requires a specific aspect ratio:
- Crop to standard ratios first (e.g., 2×2 inch / 1:1 square for US Passports; 35×45mm / 3.5:4.5 for Schengen visas).
- Apply file compression second.
How to Verify Exact Kilobyte File Size in Android Files App
Inspecting Detailed File Properties in the Files App
After saving, verify the real file size:
- Open the Files by Google app or your phone’s built-in File Manager.
- Locate the exported image and tap Details / File Info.
- Confirm that the size is strictly under 20.0 KB (e.g., 18.5 KB).
Targeting an 18KB–19KB Safety Margin Against Portal Rejection
Targeting 18KB to 19KB provides a crucial buffer against server-side rounding errors that can trigger false “File Exceeds 20KB” upload failures.
Troubleshooting: What to Do If Your Android Photo Is Still Over 20KB
Combining Dimension Downscaling with Moderate Compression Passes
If quality reduction alone stalls at 25–30KB:
- Reduce pixel dimensions further (e.g., from 800×800px down to 500×500px).
- Crop out unnecessary background space around the subject.
Using Client-Side Browser Tools for Direct 20KB Kilobyte Targeting
If mobile apps fail to hit the exact target, open your mobile browser (Chrome/Firefox) and use a client-side image resizer with exact byte targeting to achieve an instant 18–19KB output.
Summary: Quick Checklist for 20KB Photo Resizing on Android
Resizing to 20KB on Android is straightforward: crop to the correct aspect ratio, downscale dimensions to ~500–600px, compress quality to ~50–60%, and verify the exact kilobyte size in your file manager before submitting.