How to Resize an Image to 20KB: Complete Guide
Step-by-step guide to resizing photos down to 20KB for passport, visa, and exam portals without losing critical clarity or sharpness.
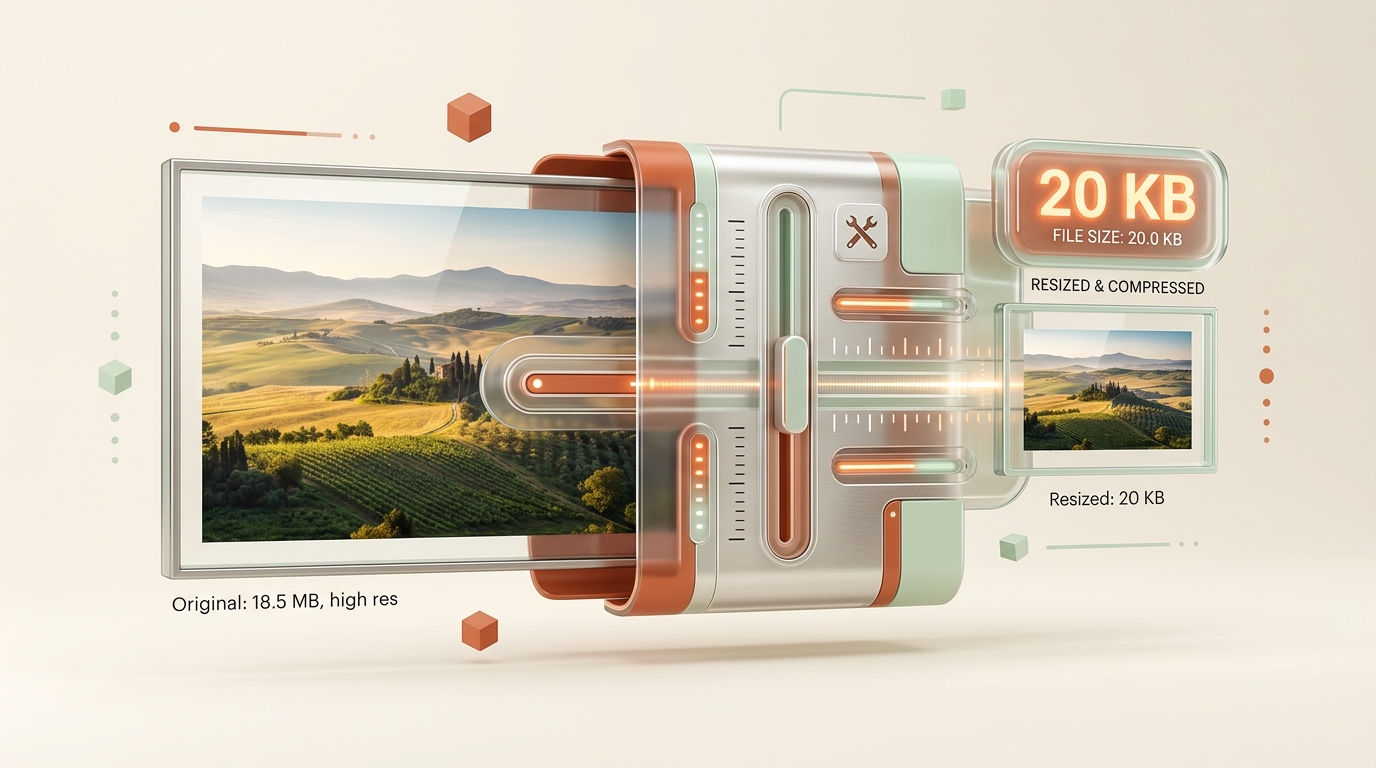
Uploading a photo sounds simple, until a form rejects it for being too big. Many online tools, government portals, and job applications cap file size at a strict 20KB limit. This guide walks you through exactly how to resize an image to 20KB using a simple image resizer or compression tool, without wrecking the picture. You’ll learn how file size, dimensions, and image format work together so you never fight this problem again.
What Does a 20KB Image Size Limit Actually Mean?
Digital Storage Weight (Kilobytes) vs. Display Resolution (Pixels)
A 20KB photo refers to weight, not width. Kilobytes (KB) measure how much data the file holds, while pixels (px) measure the image dimensions on screen. A photo can look huge on your monitor yet still be a tiny file in storage terms. That’s the mix-up that trips most people up when a form asks for a specific target size.
Typical 20KB Portal Requirements: Passports, Visas, and Government Exams
Passport photos, exam registrations, and visa applications often demand this exact upload size. Knowing how to check image file size before submitting saves you a rejected form and a second trip through the photo editor.
| Use Case | Typical Size Limit | Recommended Dimensions |
|---|---|---|
| Passport & Visa Photo | 20KB – 50KB | 600×600px / 350×450px |
| Competitive Exam Registration | 20KB – 50KB | 200×230px / 300×300px |
| Online Job Application | 20KB – 100KB | 400×400px – 800×800px |
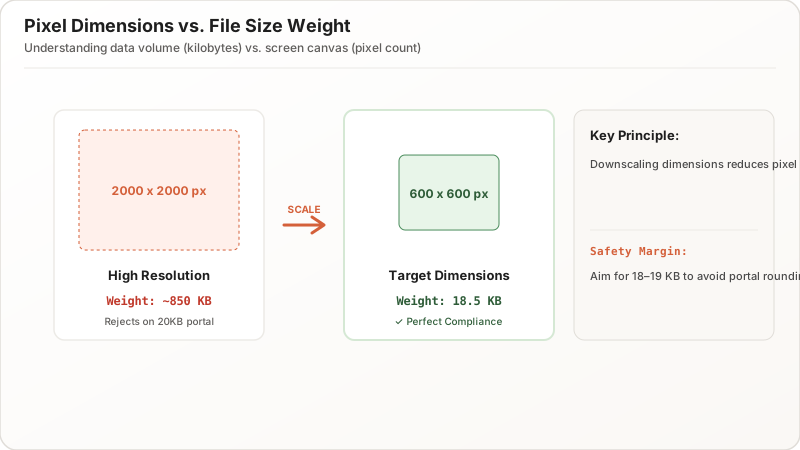
How Pixel Dimensions and Visual Complexity Impact Final File Size
How Pixel Resolution and Canvas Area Drive Up Kilobyte Size
Width, height, and resolution all drive file size upward. A photo shot at high resolution carries far more data than a small thumbnail, even before any compression happens. This is why learning how to reduce image dimensions matters just as much as tweaking quality level.
Why Plain Backgrounds Compress Far More Efficiently than Complex Scenes
Two raster images with the same pixel count can still land at different output sizes, because busy, detailed photos compress less efficiently than simple ones. A plain headshot against a flat white or light background will hit 20KB far easier than a cluttered outdoor shot. Keep your source image simple when you know a tiny target file size is coming.
The Proven 3-Step Workflow to Resize Any Photo to Exactly 20KB
Step 1: Crop and Scale Pixel Dimensions Proportionally
When quality cuts alone won’t reach 20KB, downscaling the dimensions is next:
- Lock the aspect ratio so your photo won’t stretch or distort.
- Scale down dimensions to a standard size like 600×600px or 400×400px.
- Use a photo editor with built-in high-quality bicubic/lanczos resampling to preserve edge sharpness.
Step 2: Select the Best Output Format for Compression (JPEG vs. WebP)
Your image format choice changes everything about hitting 20KB cleanly:
- JPEG / JPG: The universal standard for photos across virtually every official portal.
- WebP: Compresses roughly 30% smaller than JPEG at matching visual quality.
- PNG: Ideal for logos and sharp text, but creates files too large for 20KB photographic uploads.
| Format | Best For | Shrinks to 20KB Easily? |
|---|---|---|
| JPEG / JPG | Photographs & Portraits | Yes, Best Compatibility |
| WebP | Web & Modern Portals | Yes, Best Compression |
| PNG | Graphics & Transparency | Limited (requires tiny dimensions) |
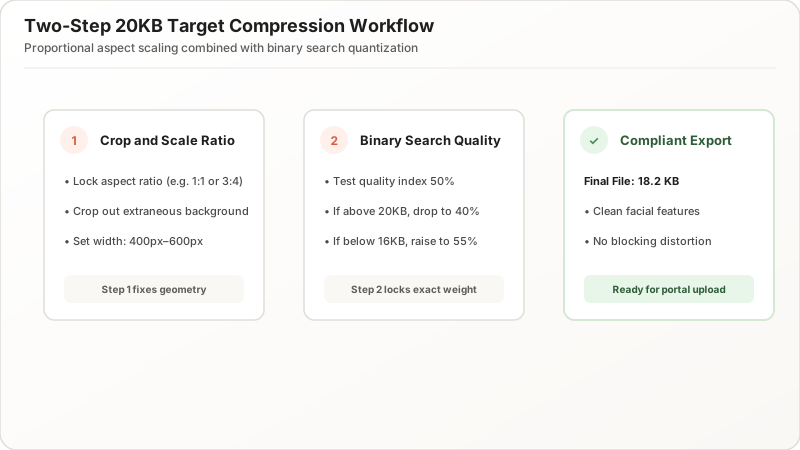
Step 3: Fine-Tune Compression Quality Sliders to Hit Under 20KB
Every JPEG carries a quality slider from 0 to 100:
- For a small 20KB target, set the JPEG Quality between 45% and 65%.
- Automated compression tools use a binary search algorithm to find the exact quality level that hits your byte target in milliseconds.
How to Verify Your Image File Size Before Uploading
Checking Exact Kilobytes on Windows File Explorer and Mac Finder
Before uploading, always confirm the real number:
- On Windows: Right-click the file and choose Properties (check “Size”, not “Size on disk”).
- On Mac: Select the file and press Cmd + I (Get Info).
Why Aiming for an 18KB–19KB Buffer Prevents Upload Errors
Always aim a little under your limit: target 18KB to 19KB rather than exactly 20.0KB. Some upload servers round file sizes up or calculate bytes in base-10, causing accidental rejections for files that sit right on the boundary.
Troubleshooting: Quick Fixes When Your Image Remains Over 20KB
Converting Large PNG Files to Lossy JPEG or WebP
If file reduction stalls, start with your image format: convert uncompressed PNG files to JPEG or WebP first.
Cropping Out Unnecessary Background Clutter and Margins
Crop out empty or busy background space around the subject. Combining a format swap, a tighter crop, and moderate quality adjustment will guarantee your image hits under 20KB without sacrificing facial clarity.
Summary & 20KB Image Optimization Pre-Upload Checklist
Getting a photo down to 20KB is simple: choose the right format (JPEG/WebP), scale pixel dimensions to ~500–600px, adjust compression quality to ~50–60%, and verify the file is between 18KB and 19KB before submitting.